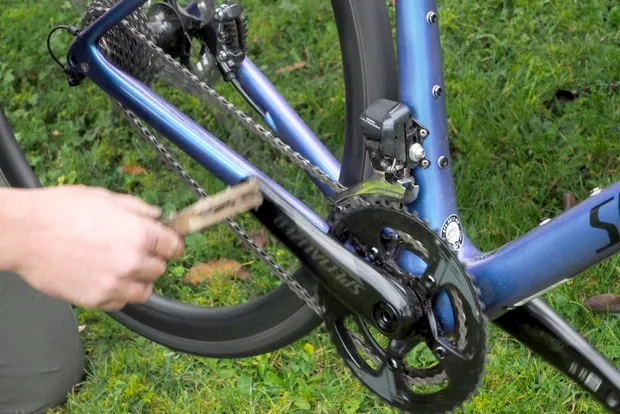
If you’ve snapped your derailleur or bent your hanger while riding, here’s how to convert your bike to a singlespeed so you can make it home.
If your derailleur or hanger breaks during a ride, you could find yourself stranded and in need of help. However, a quick singlespeed conversion can help you get back home or to the trailhead.
While you’ll be limited to a single gear for the remainder of your ride, this method can save you from the embarrassment of walking home, which can wear down your cleats and bruise your ego.
Experienced riders might carry a spare derailleur hanger, but that won’t fix a broken derailleur, which prevents your pedals from turning.
In this guide, we’ll walk you through the process of converting your bike into an emergency singlespeed.
Table of Contents
Tools needed for emergency singlespeed conversion
For this bike hack, you’ll need the following items:
- Chain tool extractor
- Spare joining pin or quick-link
- Multi-tool
How to convert your bike to a singlespeed in order to get yourself home
1. Split the chain
If your chain isn’t already broken, you’ll need to separate it with a chain rivet extractor. If your chain has a quick link and you don’t have the right tool, try flexing the chain back and forth to loosen it.
2. Remove the rear derailleur
After splitting the chain, take it off the rear derailleur.
Next, remove the rear derailleur using a 5mm hex key or a Torx key, depending on your derailleur’s specifications.
Loosen the cable clamp bolt and detach the rear derailleur cable. If you can’t remove it entirely, secure the cable somewhere out of the way to prevent it from getting tangled in your wheel or bike.
3. Select your gear
With the rear derailleur removed and the cable secured, it’s time to choose the gear you want to use.
The crucial factor here is the chainline—you want your chain to run as directly and straight as possible from the front chainring to the rear cog you select.
As a general guideline, whether you’re using the small or large chainring, the middle cogs of the cassette typically provide the best chainline. The cogs closer to the wheel work better with the small chainring, while those toward the bottom of the cassette are more suitable for the larger chainring.
View this from the back of the bike and focus on achieving the best chainline instead of just picking the optimal gear.
4. Measure the chain
With your chosen cog and chainring in place, lay the chain over the chainring and around the cassette cog. Bring the two ends of the chain together, pulling one loose end tight to identify the nearest link that can be joined. Ensure the chain is fully wrapped around both the cassette cog and the chainring.
It’s important that the link you choose to connect to the loose end doesn’t stretch the chain any further. A chain that’s pulled too tight can make pedaling impossible and may damage other components of your bike’s drivetrain.
5. Fit the chain
First, remove the chain from the chainring to eliminate any tension while you’re trying to connect it.
Use a quick-link or a joining pin to secure the chain. After joining it, carefully remount the chain on the chainring by gently rotating the cranks and guiding the chain back on—watch your fingers!
For singlespeed bikes without horizontal or rotating dropouts, a chain tensioning device is needed to maintain proper tension. In a standard geared setup, the derailleur handles this. Since you won’t have that in this setup, take it easy while pedaling.
If you find it difficult to connect the chain and maintain the optimal sprocket for chainline without it being too loose, you might need to shift the chain to the next largest cog on the rear cassette to prevent it from jumping during pedaling.
6. Test the setup
Before hitting the road, try pedaling the bike forward by hand to ensure everything is functioning properly.
Keep in mind that with this fix, your riding speed isn’t the main concern; it’s the tension in the chain that matters. So, pedal steadily and smoothly, and avoid applying too much pressure.
A note on full-suspension bikes
This repair is most effective for road bikes or hardtail mountain bikes. On full-suspension bikes, the movement of the suspension alters the chainstay length, making a simple wrap around the chainring and sprocket impractical—your chain is likely to fall off or break.
If you can, try to straighten the hanger as much as possible and adjust the derailleur to run smoothly in one gear.
If a jockey wheel or cage has broken, it’s often feasible to get the chain to run around a single jockey wheel, using the derailleur’s limit screws to set it up as a singlespeed.
Be sure to maintain some tension in the chain through the derailleur to accommodate chain growth during the suspension’s travel.
- Mastering the Art of Solo Cycling: 10 Essential Tips for Success - February 28, 2024
- Core Training for Cyclists : Transform Your Ride - February 27, 2024
- 10 Ways to Enhance Your Breathing for Better Cycling Performance - February 26, 2024

